Most of the time when we work on a remote server, we only use ssh to get
access to the command line interface of remote host. And from there, we execute
commands to various tasks.
However, this remote server won’t be accessible to non-technical person like
us. What if we want to share some resources on this server to someone else on
team that doesn’t know much about command line? I believe the best solution is
to find a better team member 😉
Actually not every developer can code in vim. So having a way for her to
access server safely in some situation is great. Then fire her 🤡
I’m just joking. This is only for my curiosity and whoever feel like me. We do what we can do. Doesn’t matter if it is useful to someone else or not. As long as we have some fun and understand CS a little bit more.
First of all, we need to setup a remote server. You can spin up a remote VM on the cloud or just a local virtual machine. We know they are just a few hops different. Let’s pick a Debian 12 image on Google cloud this time but any Linux distro can work, just use the corresponding package manager.
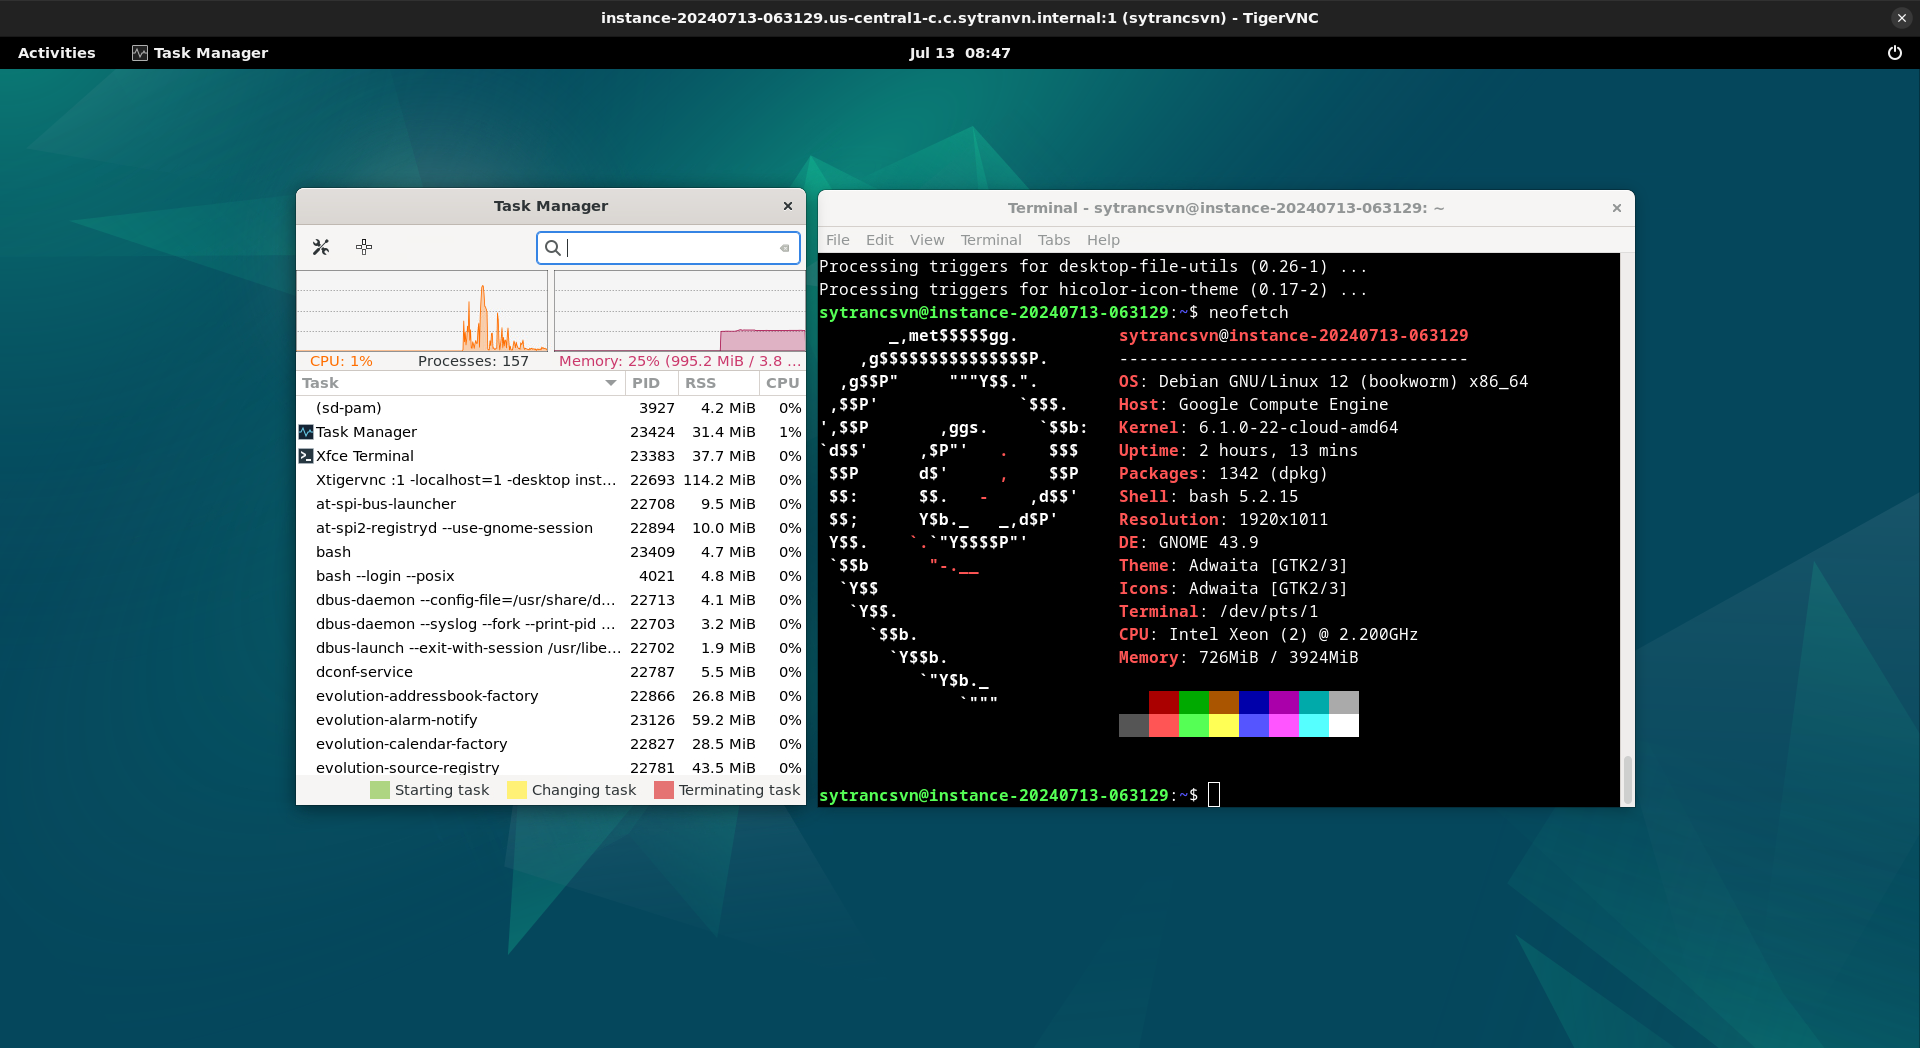
Firstly, we need to set up a vnc server. One of the most common one is tigervnc.
As default Debian server image does not come with desktop environments. We
install xterm to test xwindow server. Once the connection is set, we can
do the same with an actual desktop environment.
sudo apt update
sudo apt install -y tigervnc-standalone-server xterm
Now let’s start the vncserver
vncserver -xstartup /usr/bin/xterm
New Xtigervnc server 'instance-20240713-063129.us-central1-c.c.sytrancsvn.internal:1 (sytrancsvn)' on port 5901 for display :1.
Use xtigervncviewer -SecurityTypes VncAuth -passwd /tmp/tigervnc.4qRcHH/passwd :1 to connect to the VNC server.
You will be prompted for password, the client will use that password to connect
to vncserver. The display can be :2 , :3 or any number, just make sure you
use the correct display vncserver using.
Open a new terminal on you local machine, and copy the command to connect to
the VNC server. But remove the -passwd option. The file only exists on remote
server, not on our local. And add -via user@address option.
sytrancsvn@local:~$ sudo apt install tigervnc-viewer
sytrancsvn@local:~$ xtigervncviewer -SecurityTypes VncAuth :1 -via sytrancsvn@34.68.50.106
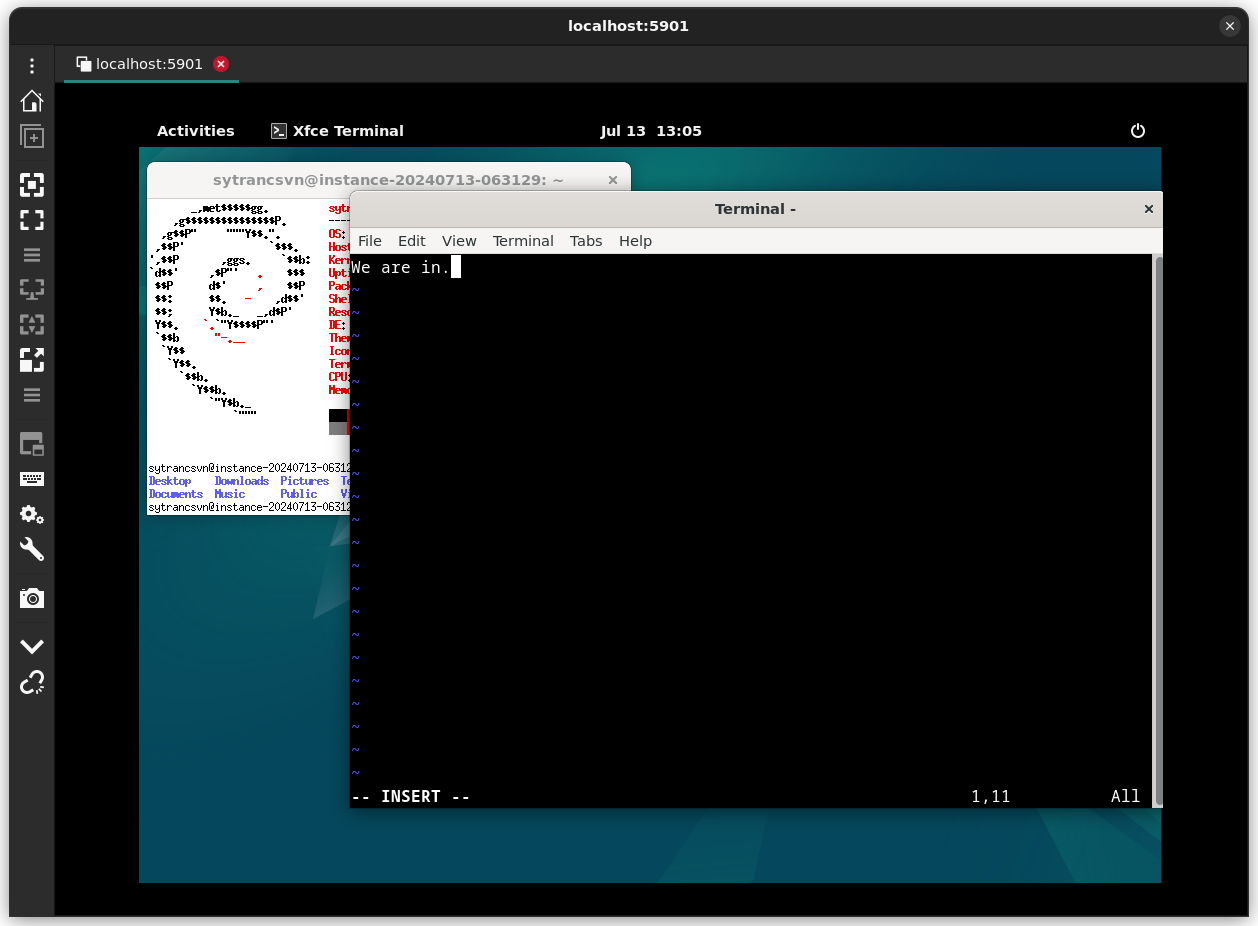
Input the password and you should see the xterm interface. Do note that the
connection is not secured, password and all data are transmitted as plain data.
To securely connect to remote server, we need to setup an SSH tunnel and
transmit data over it.
ssh -L 5901:127.0.0.1:5901 -C -N -l sytrancsvn 34.68.50.106
And then use a remote viewer client such as Tiger VNC Viewer to connect with localhost address.
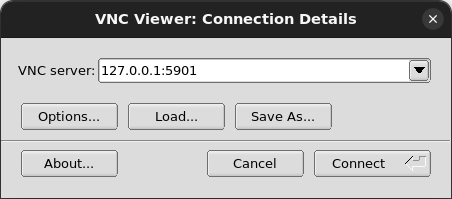
Now our connection is secured.

If other remote viewer program already exists on you machine such as Remote Viewer or Remmina, you can use that application instead.
Now we have set up our secure connection. Let’s stop the xterm session and set up
our real desktop environment.
On our remote server. Check if xterm is still running and kill it.
vncserver -list
vncserver -kill :<display>
Now we install gnome desktop environment.
sudo apt install -y gnome-session dbus-x11
We start vncserver again but this time with gnome-session.
vncserver -xstartup gnome-session
And then connect with the client.
While working with desktop environment, you might want to adjust display quality to improve speed. Changing display resolution also help.
After done working with the session, don’t forget to kill it and close SSH tunnel to save server resources.